Carta Collections
Carta Collections separates the details of data storage while both enforcing data structure and providing user aids that simplify compliant data collection. Carta Collections is currently hosted by Contextualize at https://collection.contextualize-dev.com/.
Initial Setup
To obtain a user account contact customer.service@contextualize.us.com with the email address you plan to use as the account.
Using Collections
Collections supports a highly intuitive user interface designed to allow users to focus on data collection, not reacclimating themselves to project-specific differences in the data storage, organization, and naming conventions.
At any time, you may return back to the ‘Select Project’ screen or Project Home Screen by selecting ‘Collection’ or the Carta logo.
Access and sign-in
Navigate to Carta Collections via your desired browser.
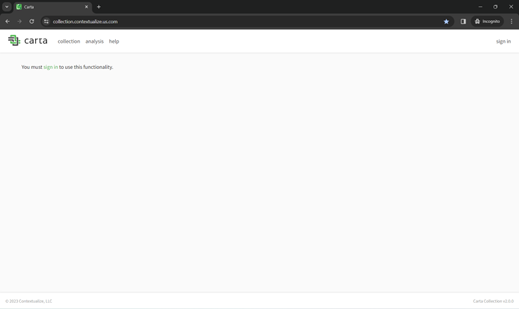
Click either of the two visible ‘Sign In’ links.

Enter your username and password and hit ‘Sign In’.
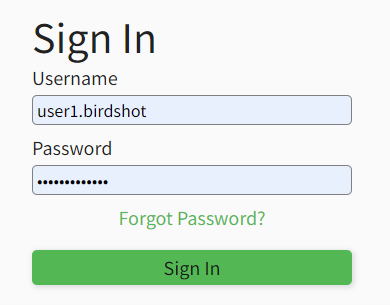
If prompted to ‘Select Project’, your username has permissions to view more than one project. If not, you will be sent directly to your available project.
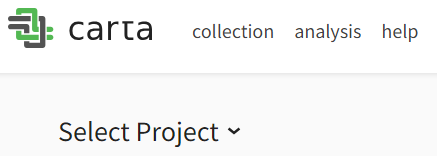
Click the arrow next to ‘Select Project’.
Select your desired project.
Project Home Page
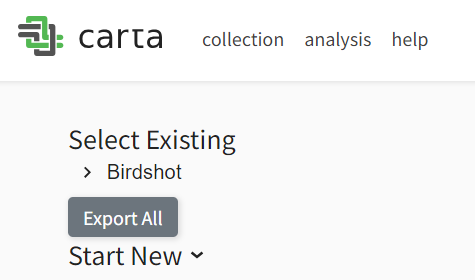
From the project home page you may edit existing data, begin a new form, export or view a metadata summary, or request help.
Edit Existing Data
Select the arrow next to your project name. This expands the hierarchical structure in which all data was saved.
Navigate through the structure by clicking the arrows or folder names to find the desired JSON form data to edit.
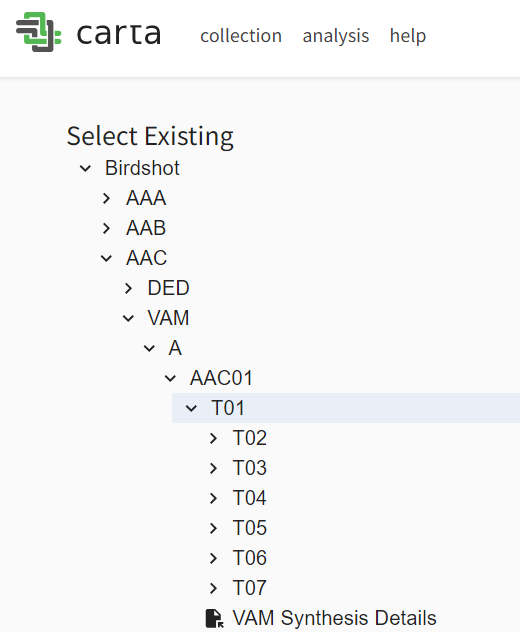
Select the form.
Make desired changes by clicking a field and changing the text.
Hit ‘Submit’.
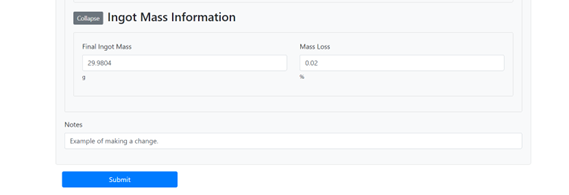
Start a New Form
On the Project Home Screen, select ‘Start New’.

Select the desired new form.
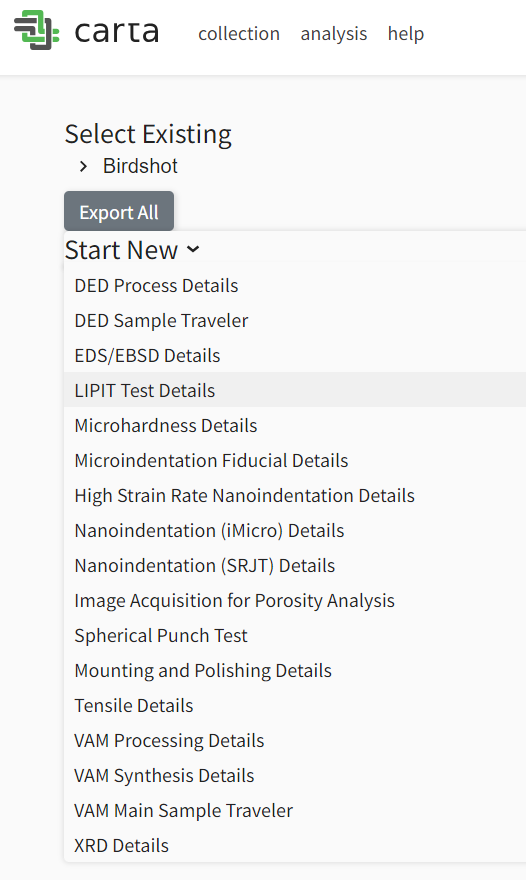
Populate all required and desired fields by typing in each field box.
If desired, upload a file. a. In the file upload section, select ‘Browse’. b. Find the desired file to upload in the File Dialog. c. Select ‘Upload’.
Hit ‘Submit’ at the bottom of the page. The JSON form and any uploaded files will be saved to the predetermined location.
Export All Project Metadata
On the Project Home Page, select ‘Export All’.

A file dialog will open. Select the name and location where you would like this Export All folder to be saved. (Default: forms.xlsx in your system’s default Downloads folder)
View a Summary of Uploaded Data
Select ‘Analysis’.

Select ‘Profile’.
Note
At this time, ydata-profiling is the only analysis available in Collection. See Seven Bridges Quick Start Guide for more data analysis and compute options.
Select the desired form metadata type of interest.
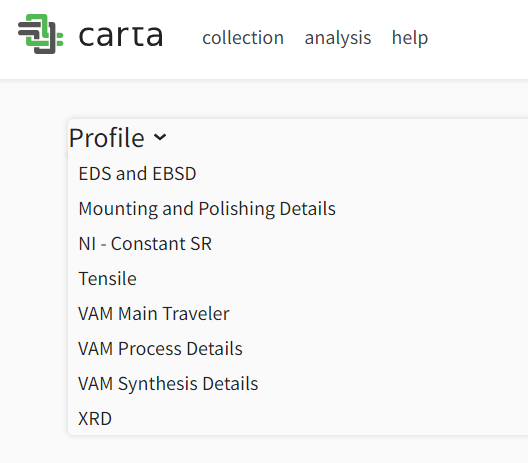
Request Help
Select ‘Help’ and a contact name. This will open your default email client and allow you to request help via email.

If your default email browser is not configured, right-click on the hyperlink and select ‘copy email address’ to manually email the listed contacts.
Note: Each project ‘Help’ is customizable and may have information relevant to your work.
Sign Out
Sign Out by selecting your username and then the ‘Sign Out’ button in the top right corner.
