Storing and Using Secrets in Seven Bridges
This guide is intended for users of all levels who need to use Secrets for any reason. This could be a developer, analyst, program manager, or data generator. If you are unable to complete the steps, reach out to the tool/workflow author or customer.support@contextualize.us.com. There will be further modules coming soon, including “Creating a Tool that Uses Secrets” and “Troubleshooting”.
While comprehensive instructions are available through the Seven Bridges Knowledge Center, the following instructions are a condensed version highly specific to Contextualize and Contextualize customers.
PREREQUISITES
Seven Bridges username and password.
Known Secret. This could be an API token (such as Hyperthought), or a username and password (most commonly: your Carta username and password).
Note: To obtain either of the above, reach out to your site lead or customer.support@contextualize.us.com.
UPLOADING SECRETS
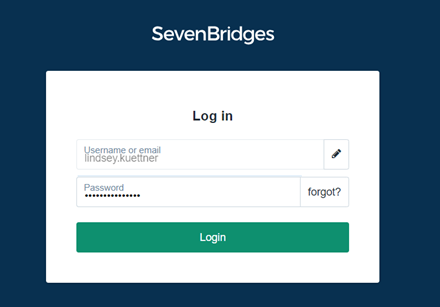
Log in to Seven Bridges (https://igor.sbgenomics.com).

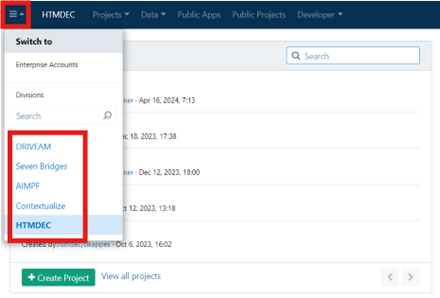
Once you are logged in, navigate to the appropriate division from the menu icon in the top left corner. (Note: You will be logged into your default division automatically. If you are part of only one division, you may not see this icon and can skip to the next step.)

Select “Developer” then “Secrets management”.

Select the green “Add new secret” button on the top right corner of the screen.

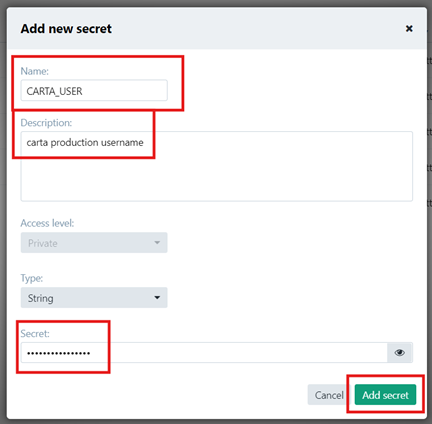
Give your secret a name. Hint: Use descriptive names, such as “CARTA_USER” and “CARTA_PASS” as the names for your Carta username and password, respectively, to more easily identify secrets.
Enter a description. A description is required.
Under “Secret” enter the value (i.e. your username, password, API token, etc.).
Note: You may leave “Access level” and “Type” as their defaults: “Private” and “String” respectively.
Select the green “Add secret” button.

WHITELISTING AN APP FOR USE
To prevent Apps from accessing sensitive Secrets data, each App (in fact, each App version) must be given express permission to access the Secret. This is what is meant by “Whitelisting”. Once you have a tool to test or use, you must whitelist it for use before running. This section will assume you are both logged in to Seven Bridges as described above.
Hint: Open two tabs open for this step: one open to the Secrets management page described in #1 and the other open to the App homepage as described in step #3. (ctrl-[click], or cmd-[click] on a Mac, will open a link in a new tab.)
Select “Developer” then “Secrets management”.

Find the secret in the list. Select the ellipses “…” button on the right side and then select “Allow app”.

You will be prompted for the App ID and the App revision. To get these values: a. (In a separate tab, as noted above) navigate to the app you need to whitelist. b. “App Id” is found under “Basic Information”. c. “App revision” is found to the right of the app title:

Enter (b) and (c) into the Secrets management tab.
Select the green “Add” button to the right of the revision number.

Repeat for any other secrets (i.e. if you need both a username and password, you will need to whitelist the App on both secrets entries in Secrets management).
Repeat for any other Apps that require whitelisting. Note: For workflows, which string together tools, you will need to whitelist the workflow and any tools called by the workflow that require access.